
Ever since getting my Silhouette machine at the beginning of the year, I’ve been having so much fun with it. I’ve created paper crafts and items with vinyl but until now had not taken the time to do anything with heat transfer vinyl, which you can use on fabric. So when Firefly Craft offered to send me a sample of their HTV, I thought it would be a great time to try and experiment to see what I could do with it. This was my chance to find out if I could make my own graphic t-shirts for my family. You see my family lives in t-shirts like that, and I was pretty sure that given the time I could make replicas of them at a fraction of the cost. And now I had the push to try it.
I get the Zulily e-mails every day and go through it looking at all the things I want…many of which I will never buy 😉 But one thing that gets me every time I see it, is a t-shirt with the state of Texas and the word “home” in it. I’ve seen them other places as well and generally they range between $20 and $25. I knew that this was going to be my first foray into using heat transfer vinyl, making myself a Texas Home State T-shirt. Firefly’s heat transfer vinyl was the perfect material to get me started. The vinyl is 12″ x 20″ in size and came packaged in a tube so it was shipped well to arrive with no creases or dents in it.
 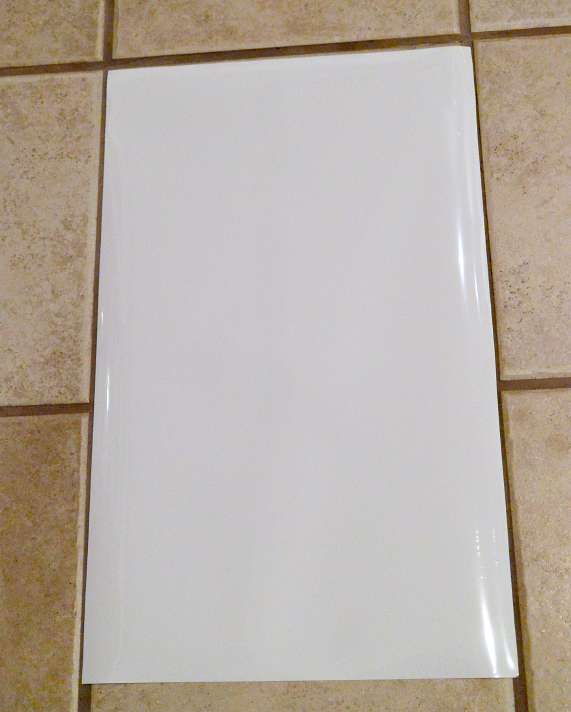 You’ll notice one side is shiny. That’s the carrier sheet so that it’s easier to position and iron or heat press onto your fabric. When I received this HTV, it was available on Amazon.com for $9.99. It is currently out of stock (which makes me sad!), but keep your eye on it for future purchases.
I didn’t need the whole 20″ length to make my project, so really the cost of materials for this t-shirt was quite cheap. I used about a little less than half of it, so say $5.00 worth.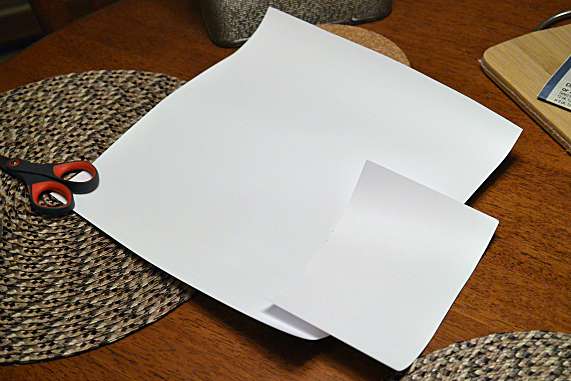 Whenever I’m out and about, I’m perusing the clearance section of the department stores. On one of my trips to Walmart I found a Danskin t-shirt in Sapphire Blue for just $1.00!
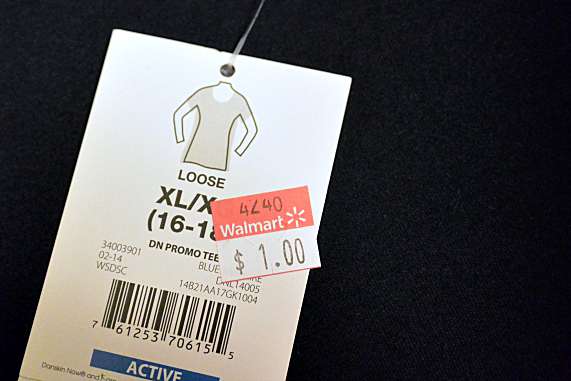 So this shirt had I purchased the HTV would have cost me $6.00 to make, that’s about 1/3 of the price or less than what I’ve seen them selling for online. This is what I have leftover yet.For a shirt like this, unless you’re really good with an exact-o blade, you’ll need a die cutting machine like a Silhouette or Cricut. You can use this heat transfer vinyl without having a machine like that, but you would need to be able to slice the images out that you want without cutting through the carrier sheet on the back.
In my Silhouette Studio Software, I just traced an image of the state of Texas, and then added my HOME in Courier font. Then I set the machine to cut out the state and the lettering. Always remember to mirror your image when you’re using HTV with a carrier sheet! You’ll actually be ironing on top of the shiny side that you’re placing down when cutting, so if you don’t mirror…your design will be backwards!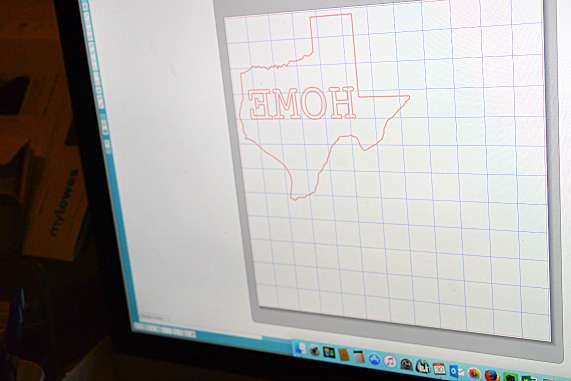 The instructions that came with the HTV were right on. They suggest the smooth htv setting with a blade depth of 3. I did a test cut and it was perfect. HTV is a funny material in that when you’ve cut it…you can’t really tell 🙂 So in the photo below, the design actually has been cut out on it.
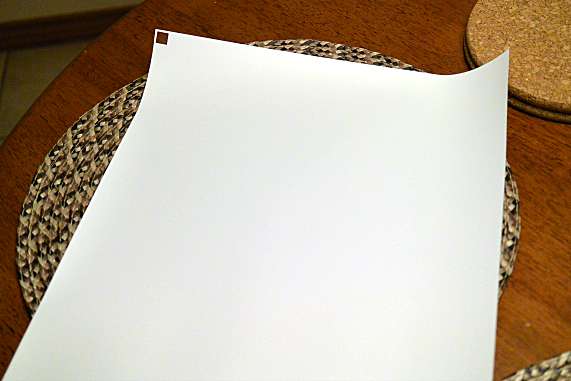 But this Firefly Craft heat transfer vinyl was so easy to weed. It took me no time at all to remove the excess parts I did not want to iron on to the t-shirt.
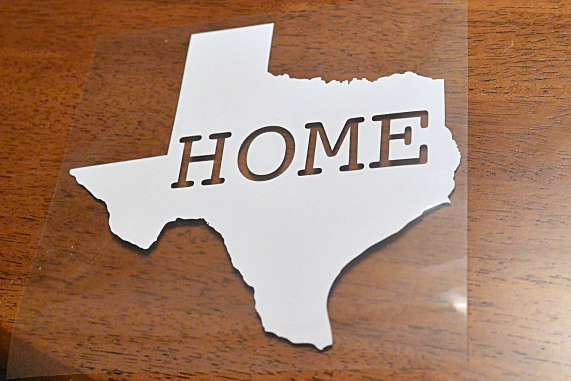 To get it on to the t-shirt, you can just use your iron if you don’t have a heat press. You’ll have to press pretty hard if you’re ironing, and I took measures one step further and still used a piece of parchment paper between my iron and the carrier sheet, just for my own peace of mind. I probably didn’t need to. I used my linen setting on my iron, which is the highest one, and pressed on the design for 25 seconds over sections until I had done the whole image. Then I went back and did it again for 25 seconds on each section.
 Firefly Craft heat transfer vinyl is a cold peel material, which just means that after you iron you have to have a bit of patience and wait until your design and the garment have cooled down before removing the carrier sheet. It’s a bit sticky when you’re lifting it off but it comes off cleanly once your image is pressed onto the fabric.
 I think for my first t-shirt it turned out great 🙂 And I’m excited to make up a few more things with the leftover vinyl I have, and then order some more when it comes back in stock.
 Tammy Litke is a Dallas blogger, blogging since 2008. She loves to watch movies, play video games, spend time in the kitchen, and travel. Between recipes and reviews you’ll find many helpful and some just plain funny posts on her blog. Welcome, pull up a chair and stay for a while!
I wish it was in the shape of South Dakota but it looks great anyway.